


-
Stay Connected


-
Forum Topics
-
News items
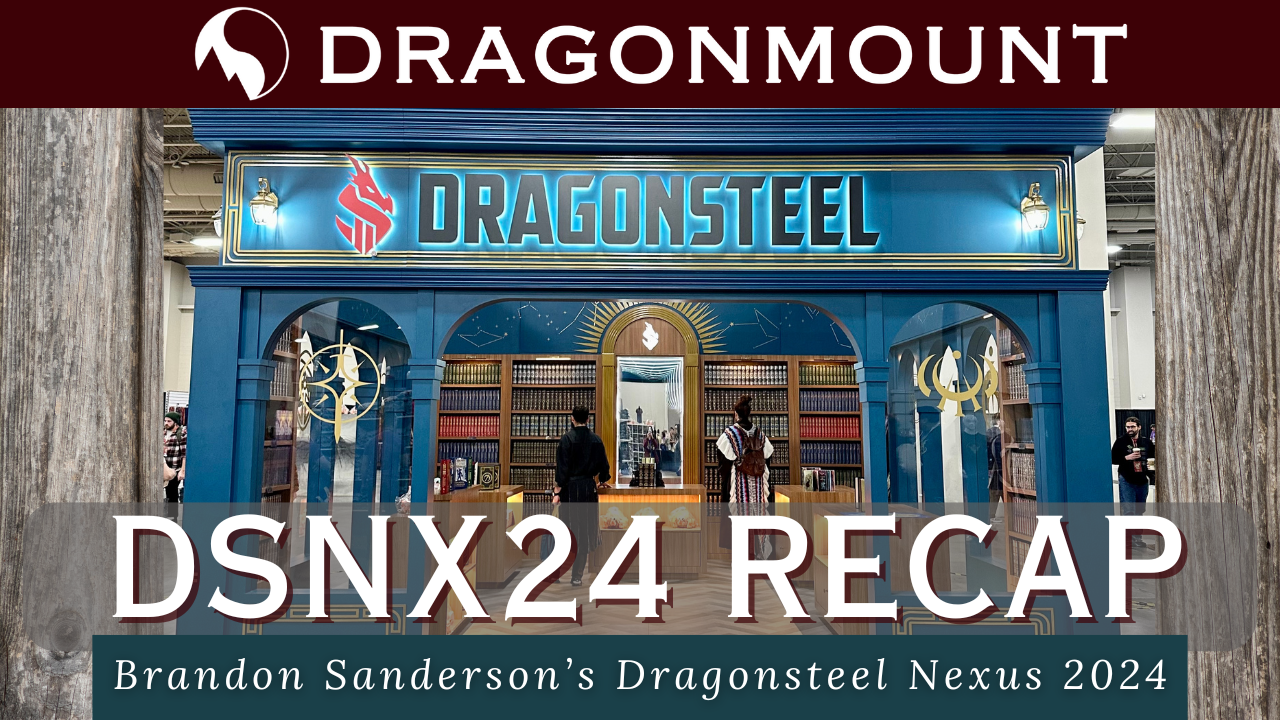 Dragonsteel Nexus 2024 Recap
A Wheel of Time fan's rundown of DSNX24 and why it's worth making the trip to Utah to live in Brandon Sanderson's world for three days.
Read More... -
-
Support Dragonmount Get exclusive content on our Patreon. Don't miss out.


Recommended Posts
Archived
This topic is now archived and is closed to further replies.